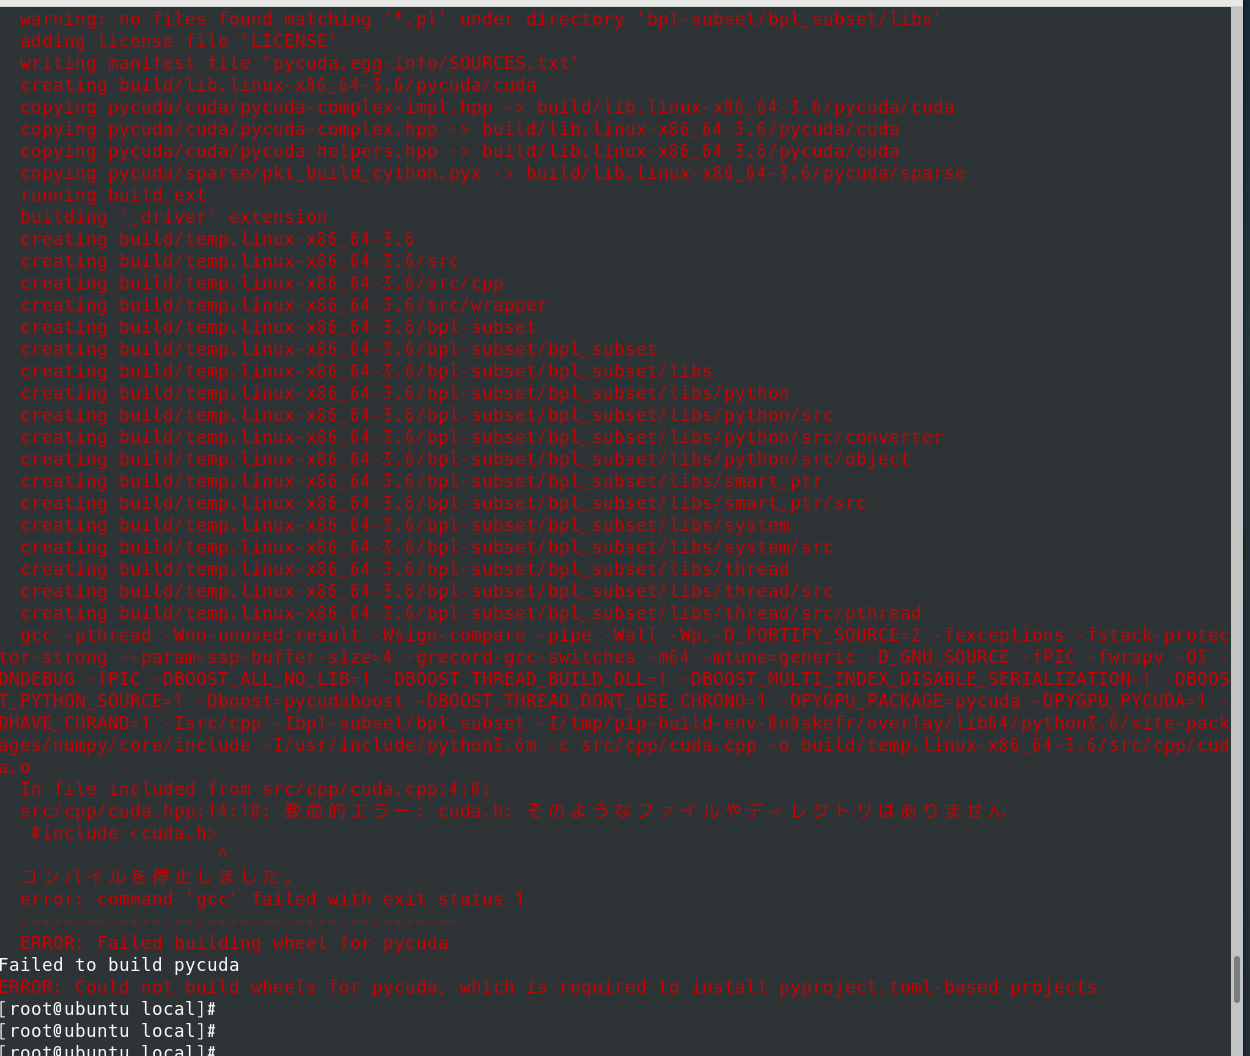
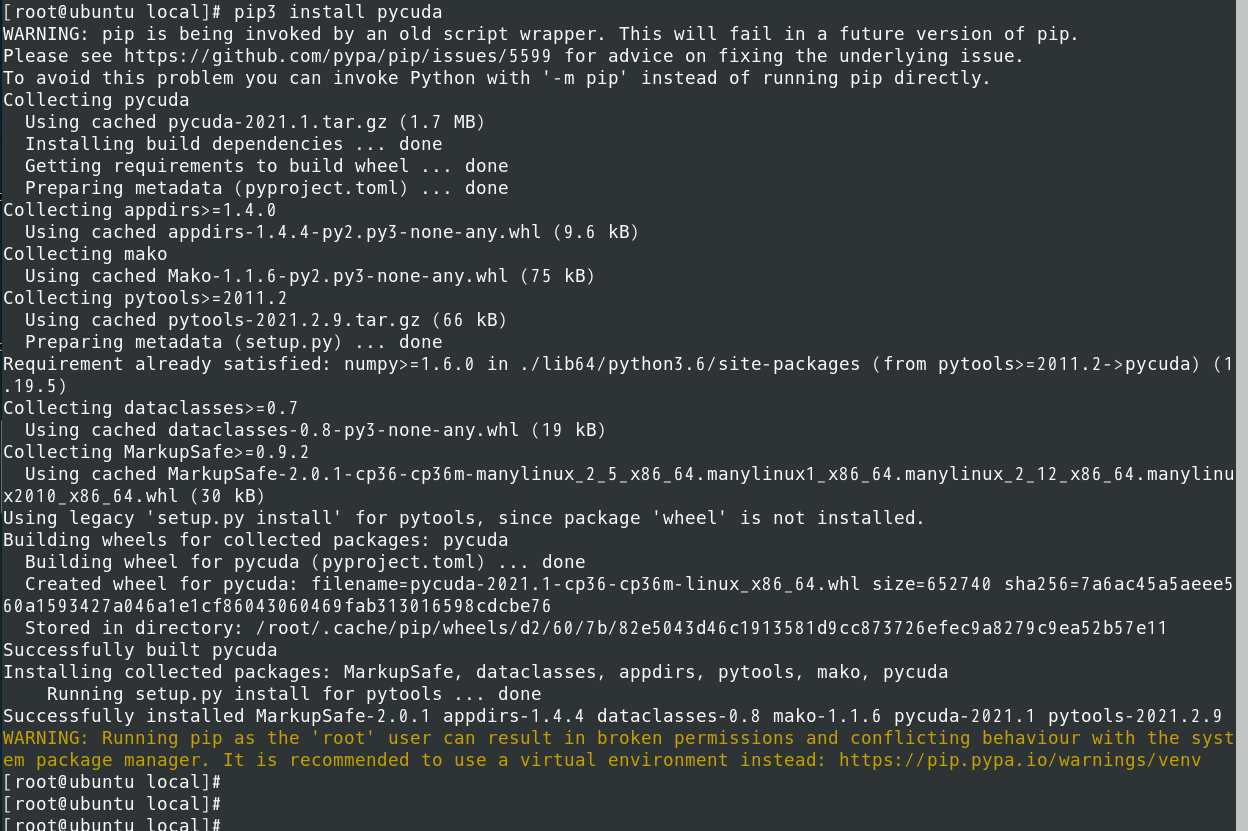
乱数を使った円周率もどきを求めてみる
下記のような正方形と内接する円を考える。正方形の1辺は2としておく。この正方形の中にランダムに点を打った際、円の中にも入る確率は 円の面積 / 正方形の面積。つまり、確率 = π / 4 となる。

π = 正方形内にランダムに点を打った 際に円の中に入る確率は × 4
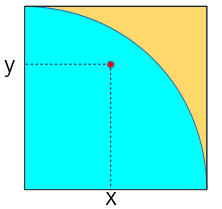
ランダムに打った点が円の中に入ったかどうか?はx座標とy座標にそれぞれ0~1の乱数を与えてやり、sqrt(x^2 + y^2) が1以下であれば円の中といえる。
この処理を実装したものが下記
|
1 2 3 4 5 6 7 8 9 10 11 12 13 14 15 16 17 18 19 20 21 22 23 24 25 26 27 28 29 |
import random import math import time def calc_rad (x, y): return math.sqrt(x*x + y*y) def calc_pi ( NN ): num = 0 in_n = 0 while num < NN: x = random.random() y = random.random() if calc_rad (x, y) <= 1: in_n = in_n + 1 num = num + 1 return ( in_n / num ) * 4 if __name__ == "__main__": for j in range (1,9): NN = 10 ** j start_time = time.perf_counter() pi = calc_pi(NN) execution_time = time.perf_counter() - start_time delt = math.fabs(math.pi - pi) print (str(NN).rjust(10)," ",f'{pi:11.010f}'," ",f'{delt:7.06f}'," ",execution_time) |
実行結果
|
1 2 3 4 5 6 7 8 9 10 11 |
試行回数 結果 誤差 処理時間[sec] 10 3.6000000000 0.458407 1.1099999937869143e-05 100 2.9600000000 0.181593 4.040199928567745e-05 1000 3.0800000000 0.061593 0.0004007130000900361 10000 3.1616000000 0.020007 0.004138636999414302 100000 3.1487600000 0.007167 0.042758481000419124 1000000 3.1437800000 0.002187 0.4172533930004647 10000000 3.1411992000 0.000393 4.038885087000381 100000000 3.1415664400 0.000026 41.15365210999971 |
それなりに近い値かな?